The Bulletproof Client Handoff Framework
Protect your builds from human error. Here is how to keep clients from estroying your design.

A practical guide to turning a raw screen recording into a polished website preview, including when to use a browser frame, a device mockup, or neither.
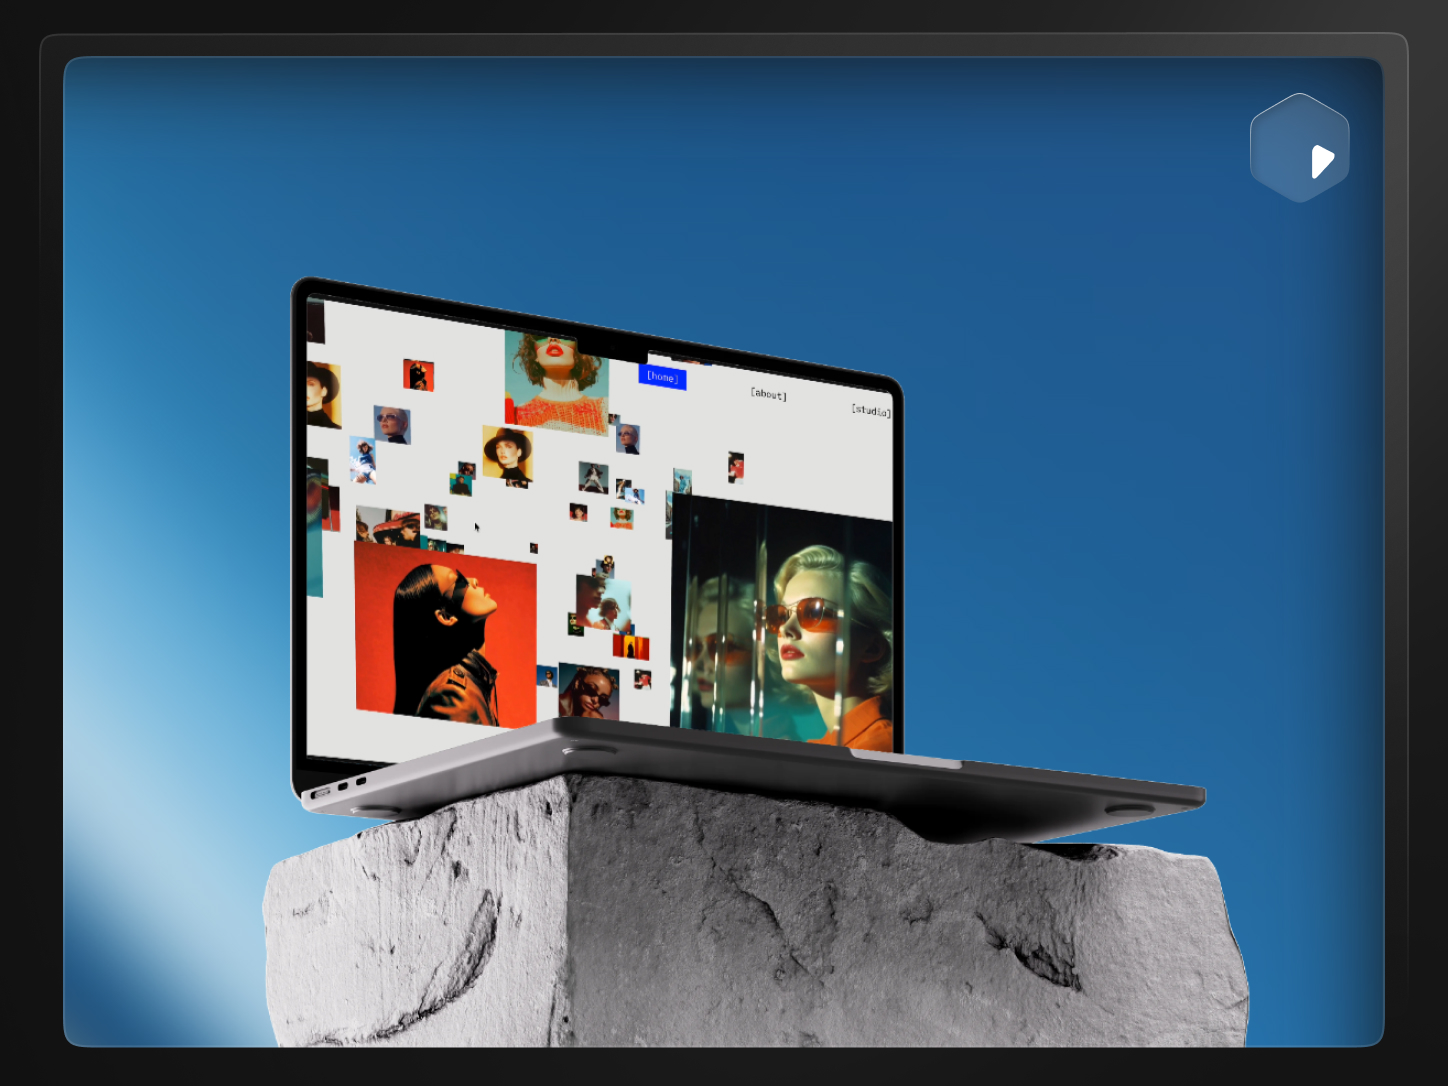
Direct answer: To turn a screen recording into a polished website preview, trim the dead space, decide whether it needs a browser frame or device mockup, crop and position it for the destination size, and export at the exact dimensions your marketplace, landing page, or social post requires. A tool like PreviewKit handles the styling and export step without a video editor.
A raw screen recording almost never looks finished. The cursor jumps around, there is dead air before anything happens, the resolution does not match where you are posting it, and the browser chrome or desktop clutter around the actual product is distracting.
None of that means you did anything wrong. A recording and a preview are two different things. The recording is the source material. The preview is what you actually publish — on a marketplace listing, a landing page, or a social post.
Screen recordings are captured for accuracy, not presentation. They include the full browser window, the operating system's cursor, whatever resolution your screen happens to run at, and every second between when you hit record and when you actually start doing something.
A viewer notices all of that in the first two seconds, before they've even registered what the product does. The fix is not to re-record ten times until it is perfect. It's to treat the recording as raw footage and do a separate styling pass on top of it.
The steps are the same regardless of which tool you use to do them:
In PreviewKit, that whole sequence happens in one browser tab: import the recording, pick a scene, adjust crop and trim, export. There's no timeline-based video editor to learn because the tool isn't trying to be one.
This is the decision that shapes everything else, and it depends on what you're actually showing.
There isn't a universally correct choice here. A Framer template preview usually benefits from a device mockup because buyers are picturing themselves using it. A SaaS dashboard walkthrough embedded on a landing page often reads better in a clean browser frame.
Two things decide whether your export actually works where you're putting it: the file type and the exact pixel dimensions.
Use MP4 when the destination supports video — most marketplaces, social platforms, and modern landing pages do. Use a still PNG or JPG when it only accepts an image, such as a static thumbnail or an Open Graph tag. Match the pixel dimensions the destination asks for exactly, rather than exporting once at a default size and hoping it scales cleanly everywhere.
If you're specifically building for the Framer marketplace, the exact preview size and video-versus-image question deserve their own answer — see how to make a Framer template preview video without After Effects.
If you're sharing a quick Loom-style clip in Slack or a support ticket, a raw recording is fine — nobody expects a styled preview for that. The moment the recording becomes public-facing — a marketplace listing, a landing page hero, a social post, a Product Hunt gallery — it's worth the extra few minutes to trim, frame, and export it properly, because that's the version strangers use to decide whether your product is worth a second look.
If you're deciding which platform to even build the product or template on in the first place, our breakdown of Webflow vs. Framer covers that earlier decision.
Have a recording sitting in your downloads folder that needs to look like something you'd actually publish?
No. Any built-in screen recorder (QuickTime, Windows Game Bar) or a dedicated app produces footage you can style afterward. The recording quality matters more than the tool used to capture it — record at a reasonable resolution and keep your cursor movements deliberate.
A demo video usually walks through features with narration or captions aimed at teaching someone how the product works. A preview video is shorter and purely visual — its job is to make someone want to click, not to explain every feature.
Yes, as long as the tool is built for styling rather than full editing. Trimming, framing, and exporting at the right size doesn't require timeline skills — it requires a tool that limits the decisions to the ones that actually matter for a preview.
MP4 for video embeds — it's universally supported and compresses well. For a static image (thumbnail, Open Graph tag, fallback poster), export a PNG for crisp UI screenshots or a JPG when file size matters more than pixel-perfect edges.
Not for most marketplace or landing page previews, which usually autoplay muted anyway. Save narration and music for dedicated demo or tutorial videos where sound is expected.
Yes — that's the more efficient way to work. One clean recording can be cropped, framed, and exported differently for a marketplace listing, a social post, and a thumbnail. See how to repurpose one product recording for Framer, X, and Instagram for the full workflow.
Powerful, self-serve product and growth analytics to help you convert, engage.

Let's bring your vision to life with standout design and expert development. Reach out to start building something exceptional together!